Custom motorcycle paint: what goes into a tank and fender job
A custom tank and fender set is a small canvas with a lot of layers under it. Here's what happens to your parts between the day you drop them off and the day you bolt them back on, and what to decide before you book.
The short answer
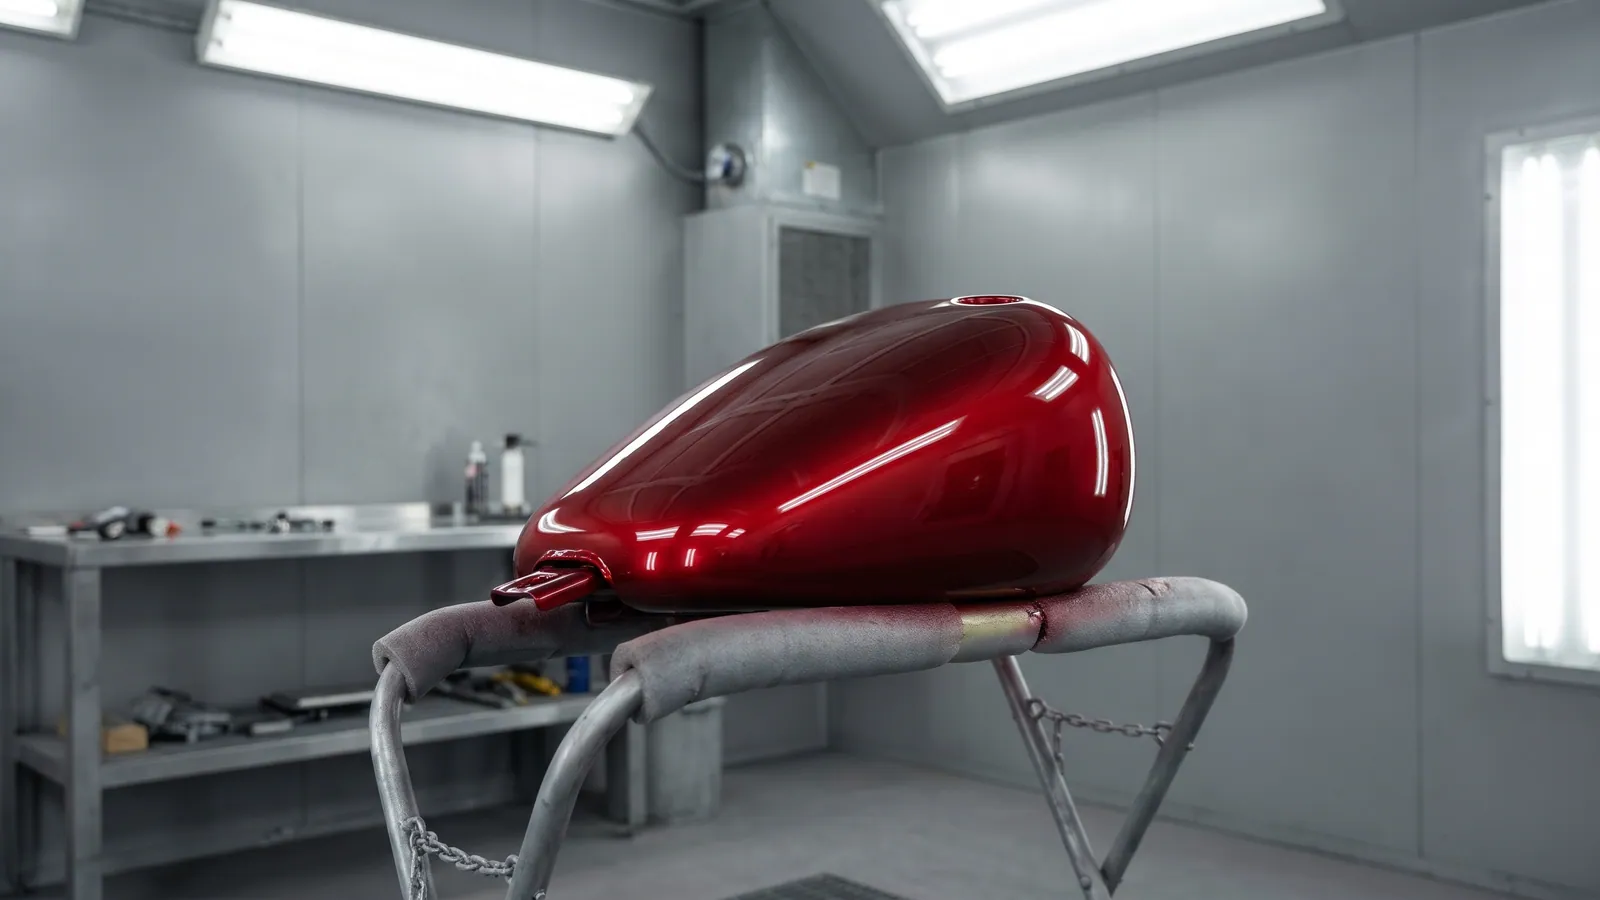
A custom motorcycle paint job starts with removing the tank, fenders and side covers, then stripping or sanding the old finish and fixing dents with filler over epoxy primer. The painter builds the ground coat, base color, any candy, pearl, flake or graphics, and a catalyzed clear that stands up to fuel on the tank. The parts then need time to harden before reassembly.
A tank, two fenders and a pair of side covers aren't much surface, but a custom finish on them goes through the same steps as a full paint job. Here's what happens between drop-off and the day the parts go back on.
Teardown, then strip or scuff
The parts come off the bike first. The tank is drained and removed, and the fenders and side covers come off with their hardware. Painting them on stands lets the painter reach every edge and underside, and keeps overspray off everything else. A frame-up restoration follows the same logic for every painted part.
Next comes the first real decision: strip the old finish, or sand it and paint over it. PPG's Custom Restoration Guide leans toward stripping, since you can't know what's hiding under an existing finish or whether enough of it is left to work with.
Film thickness is part of the reason. PPG puts a typical factory finish at about 4 to 5.5 mils and doesn't recommend adding paint over anything thicker than 12 mils, and custom paint builds thicker than ordinary repairs. Old finishes can also fight with new paint, since incompatible products can wrinkle or lift. PPG's quick check is a rag soaked in lacquer thinner, laid on the paint for about five minutes. If the finish softens or dissolves, it should be stripped to bare substrate. If nothing happens, it's considered sound.
There's room for judgment. PPG says that on a newer vehicle with good paint and mild customization, sanding and painting over a sound finish under 10 mils is acceptable. Older parts with an unknown paint history are where the strip-first advice matters most.
Dents, filler and primer
Once the metal is bare, PPG's process calls for epoxy primer within about 30 minutes, because unprotected steel starts to flash rust. All metal work comes before filler. Body filler then goes on over the epoxy, which PPG says gives the metal the most corrosion protection, in thin, tight coats rather than one heavy layer. It's block sanded until the panel is straight.
Order matters here too. PPG advises against adding filler after the primer-filler stage because of adhesion, staining and shrinkage concerns. Primer is guide coated and block sanded so low spots show up before color goes on.
If you're planning a candy color, the prep products matter. House of Kolor's tech sheet for its Kandy basecoats warns that they can stain or bleed from plastic fillers, putties, fiberglass resins and some primers, and points painters to epoxy primer surfacers to prevent it.
Base, candy, pearl and flake
This is where the look comes from.
Ground coat. Candy is translucent, so whatever sits under it shows through. House of Kolor says the part must be one even color before base goes on, and that the base color will change the final candy color. The same candy red looks different over silver than over gold.
Candy. Mark Clark, writing in BodyShop Business about painting his own 1974 Suzuki, notes that every coat of a translucent color looks darker, so a spot that catches an extra pass shows as a darker streak. PPG's guide calls for a 90 percent pattern overlap with candy and tri-stage paint, compared with 50 to 75 percent for most solvent-borne products, to keep the color even.
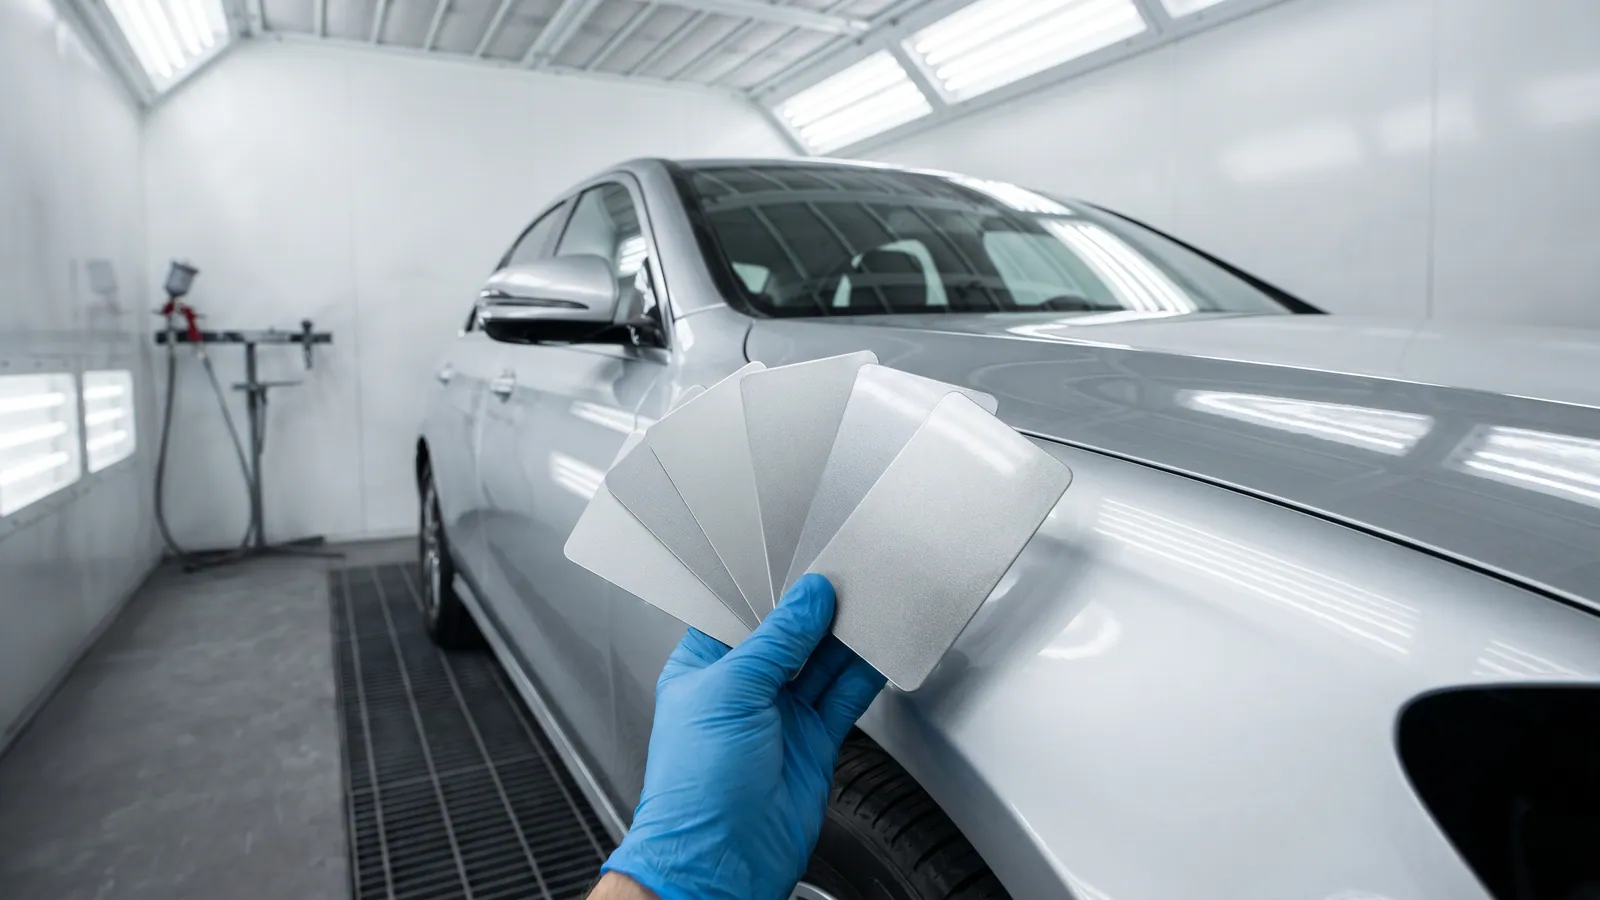
Pearl. Pearl can be mixed into a basecoat or built as its own layer. PPG describes midcoat clears as a tool for building custom candy or pearl layers over base, and recommends spraying a let-down panel first to see how many layers give the look you want. Our paint matching guide explains how a let-down panel works.
Flake. Metal flake is the loudest option and the hungriest for clear. Clark recalls a flake job that took a lot of clear to cover the largest flakes and still polish out smooth.
Graphics and pinstriping
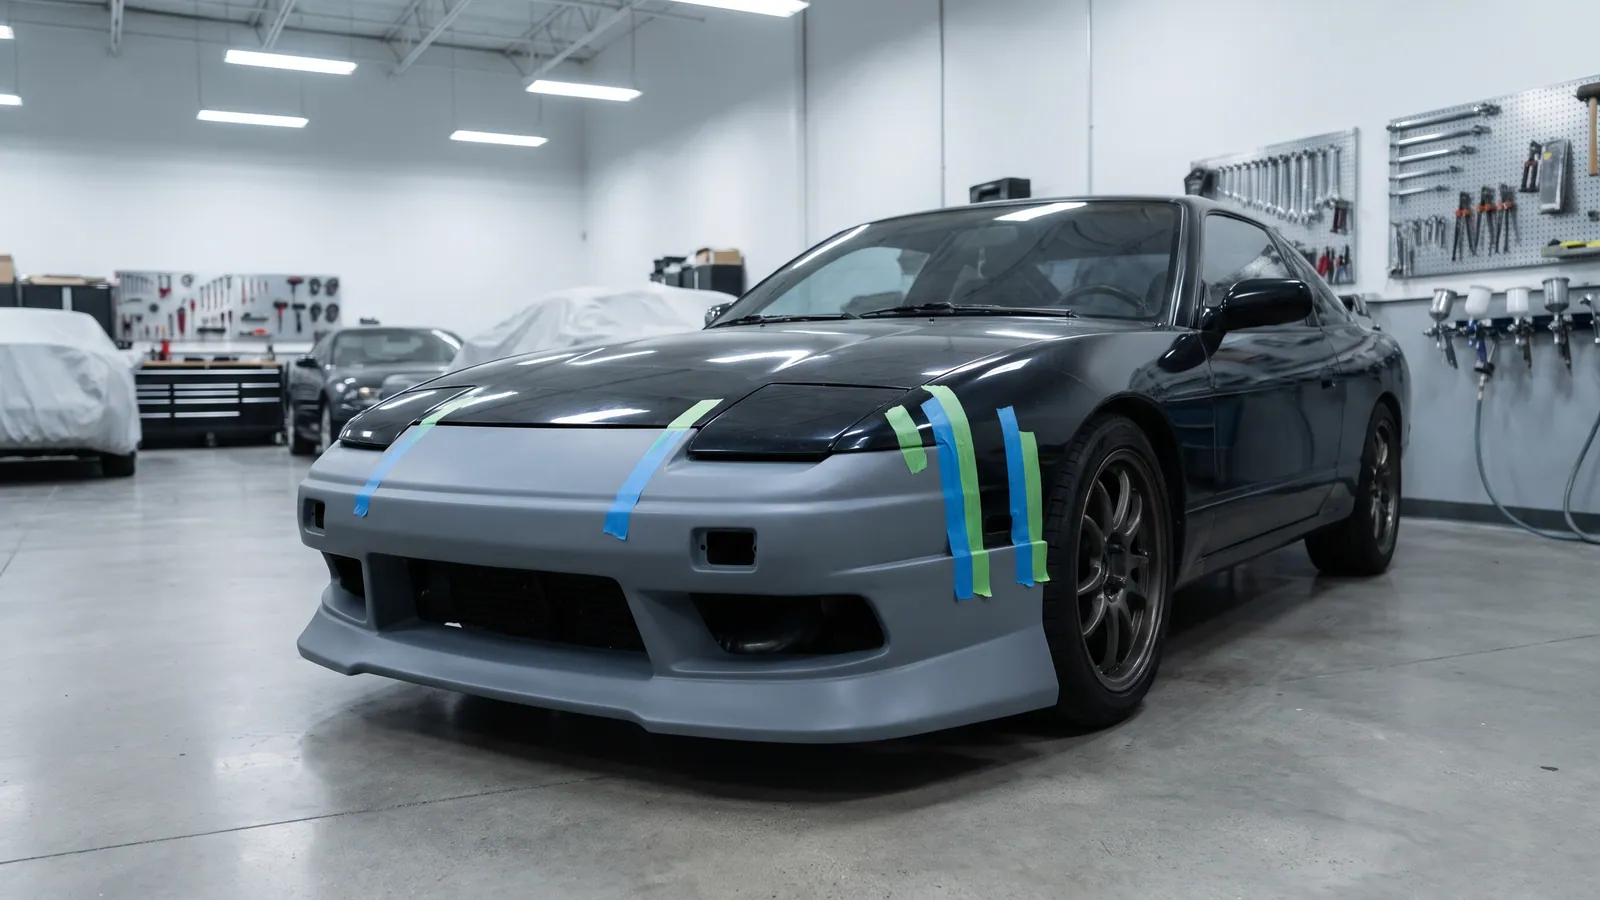
Flames, stripes, scallops and other graphics are laid out with tape over the base. PPG's guide recommends a coat of intercoat clear over the dry base before masking, which adds depth and lifts the graphic off the base color. House of Kolor adds that clear at this stage protects the base from tape marks.
Fine-line or plastic tape gives clean, sharp edges. PPG says to pull tape back against itself, either right after the last coat or once the paint is fully dry. Pull it while the paint is still gummy and the edge can peel and go jagged.
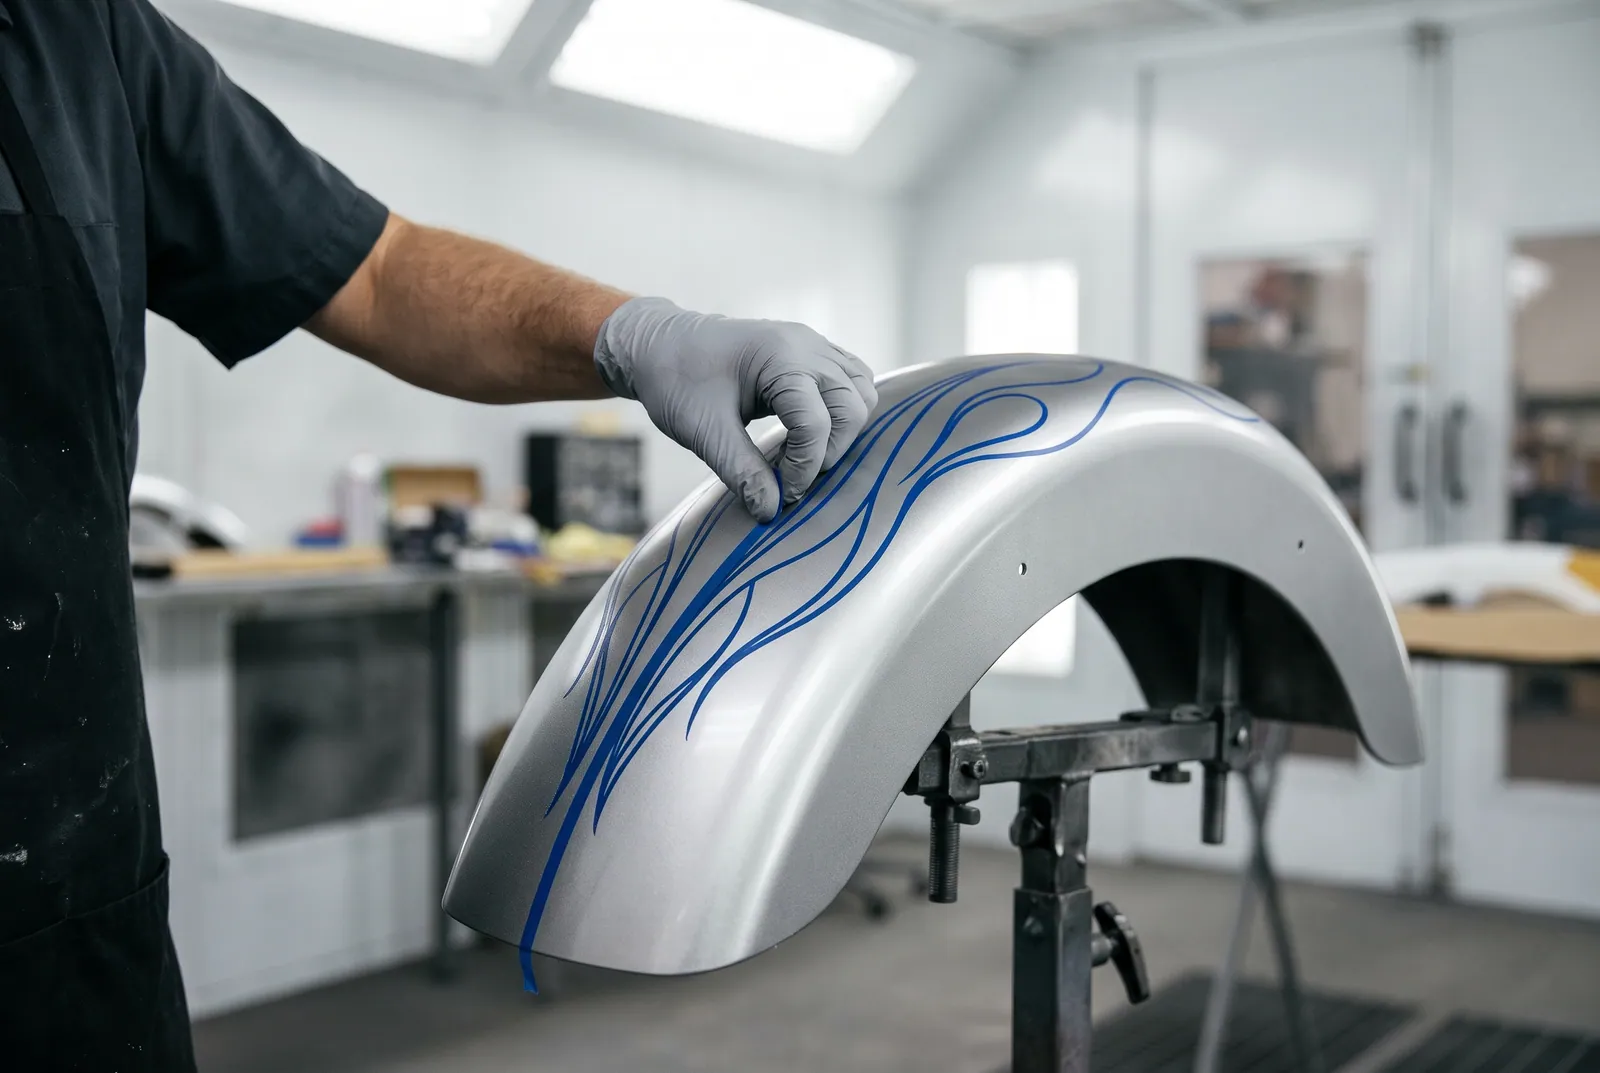
House of Kolor also lists several of its candy basecoats as heavy bleeders that can bleed into artwork sprayed over them, even under a catalyzed clear, and calls for a bleed-check sealer first.
If you want hand pinstriping, bring it up at the start so the layout and clear schedule are planned around it.
Clear coat, and why the tank needs a tough one
Clear protects everything underneath, and on a bike the tank works hardest. It sees fuel drips at every fill-up, plus heat and sun.
Clark learned this firsthand. His first candy job on the Suzuki was cleared with lacquer, and a gas spill on a hot day stained the tank right away. It wouldn't polish out, so the tank was sanded and repainted, this time with a catalyzed acrylic urethane clear that came through a hot-day gasoline spill with no problem.
That fits PPG's lacquer thinner test. A thermoplastic film softens or dissolves under strong solvent, while a thermoset film, the kind two-component products form, shows no effect. For a tank, ask your painter which clear goes on and how it holds up to fuel.
For a show finish, the clear is also sanded and buffed flat. PPG notes that a panel a collision shop might sand and buff in 15 minutes can take 60 to 120 minutes or more at show quality.
Cure time before reassembly
Dry to the touch isn't the same as done. PPG explains that clears keep releasing a slow tail solvent for about 30 days after spraying, and the surface stays soft through the first week. Its guide says it's best to wait at least 14 days before buffing, depending on temperature. Wet sanding early can speed that up, but PPG still calls for at least 24 hours before buffing.
Temperature changes everything. PPG's rule of thumb is that every 15°F below standard shop conditions can double a product's dry time, and two-component products slow sharply or stop curing below 60°F. A finish that gets too cold while it cures can end up with less durability and gloss.
So don't push for your parts the morning after clear, and treat them gently once they're back on the bike. Tank pads, tank bags and tight covers can wait until your painter says the finish is ready.
What to decide before you book
Settle these before you book:
- Which parts. Tank only, tank and fenders, or the full set.
- Reference photos. Pictures of finishes you like, and a few you don't, say more than any description.
- Color and effect. Solid, metallic, pearl, candy or flake.
- Graphics. Flames, stripes, scallops or pinstriping, and where they start and stop.
- Gloss. High gloss, or a matte or satin clear.
- Condition. Dents, rust, old filler and past repaints all change the prep.
- Timeline. Leave room for cure time before a ride or a show.
Those same choices drive the price. The big factors are prep (a strip with dent repair is far more work than a scuff), the number of parts, how many colors and layers the design calls for, masking time for graphics, and how much the clear gets sanded and buffed. As Clark puts it, candy, flake and pearl finishes are much more difficult than an ordinary base and clear repair, and that extra work shows up in the cost.
We've been doing motorcycle painting and custom paint in Fayetteville since 2005. If you're planning a tank and fenders, send us photos of your parts and the look you're after through our free estimate form.
Caring for fresh paint
PPG's finish-care advice for new paint, published in FenderBender, covers the basics:
- Hand wash in the shade with cold water, a mild soap and a soft cloth or sponge.
- For the first 30 days, don't let gasoline, bird droppings or tree sap sit on the paint. Remove them as soon as possible.
- Don't wax during the first 90 days.
Your painter's instructions come first, since they know exactly which clear went on your parts. Until the finish has fully hardened, skip polish, buffers and anything abrasive.
Keep a soft cloth with the bike for fill-ups. PPG's care advice is to get gasoline off new paint as soon as possible during the first 30 days, and a quick wipe at the pump is the easiest way to do it.
Questions
Can a motorcycle tank be painted without taking it off the bike?
Not for a proper custom job. Removing the tank lets the painter reach every edge and the underside, and keeps overspray off the rest of the bike. It also lets the tank sit on a stand through every stage, from prep to final clear.
Is candy paint harder to repair than regular paint?
Usually, yes. Each coat of a translucent candy darkens the color, so matching a repair depends on matching the number of coats and the base underneath. Mark Clark of BodyShop Business calls candy, flake and pearl finishes much more difficult than an ordinary base and clear repair.
Will a candy color fade in the sun?
Some colors hold up better than others. House of Kolor, for example, says its pink candy basecoat has limited light fastness and recommends it for show vehicles with limited sun exposure. If the bike lives outside or gets ridden daily, ask about light fastness when you choose the color.
Can I get a matte finish on a custom bike?
Yes. Matte, or flattened, clears are available for custom work. PPG notes that temperature and gun setup can change the final gloss of a matte clear, so it recommends spraying a test panel before the parts themselves.
Sources
Need it looked at?
Send a few photos for a free estimate from Kustom Shop, 5409 Bragg Blvd, Fayetteville, NC 28303. With or without insurance.